


GitHub is an essential tool for any developer. It allows you to showcase your work and skills to potential employers and build a strong portfolio. But did you know that you can level up your GitHub profile with cool features?
Have you ever checked a GitHub account and wondered how people create those aesthetic designs and icons on their profile? Do you want such designs but don't know how to? Do not flutter, In this article, you’ll see how to create a catchy, amazing Github profile page using a markdown site called “profileme.dev”.
Whether you are a developer, designer, or data scientist, this guide will help you make the most of your profile.
Pre-requisites
Before going further, there are some requirements for this tutorial:
A GitHub account
Little to no familiarity with markdown (GitHub Markdown is the markup language for user content at GitHub and allows users at all skill levels to write plain text documents, which get rendered in HTML.)
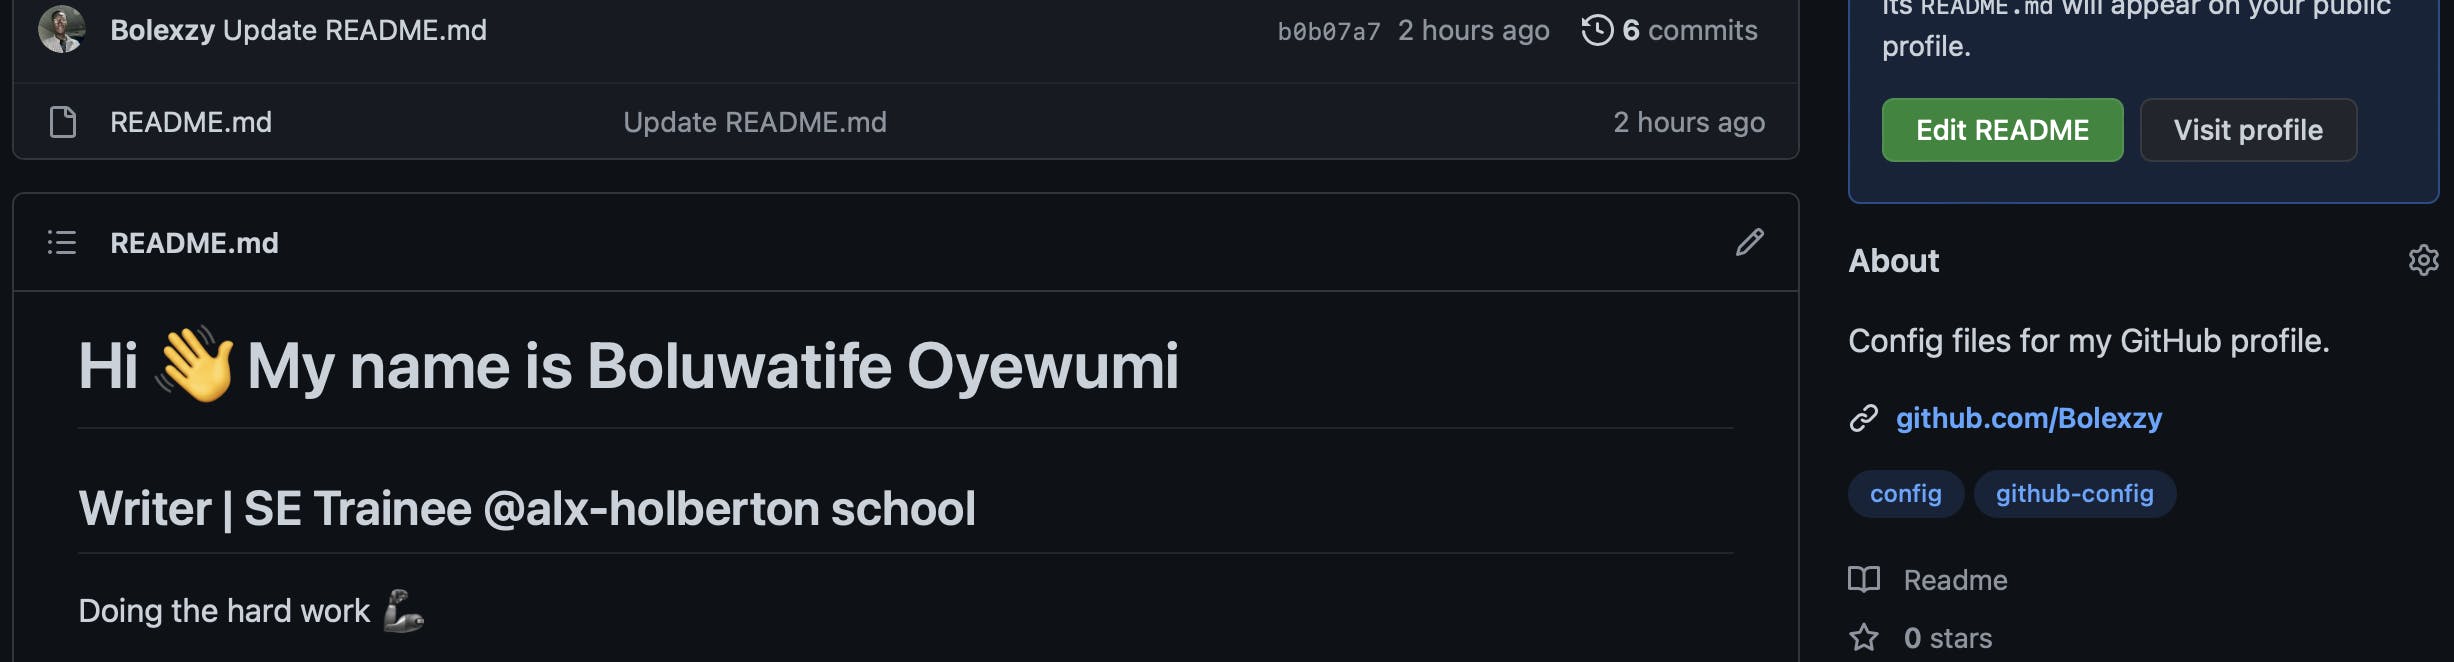
Before we continue, how about a sneaky peak; Here's what my profile looks like. We’ll be covering these features and other cool features.
Generating markdowns
In this tutorial, we'll be using “profileme.dev” to generate the markdown which we’ll be adding to our GitHub profile. With “Profileme.dev”, you can create professional-looking markdowns in no time at all!
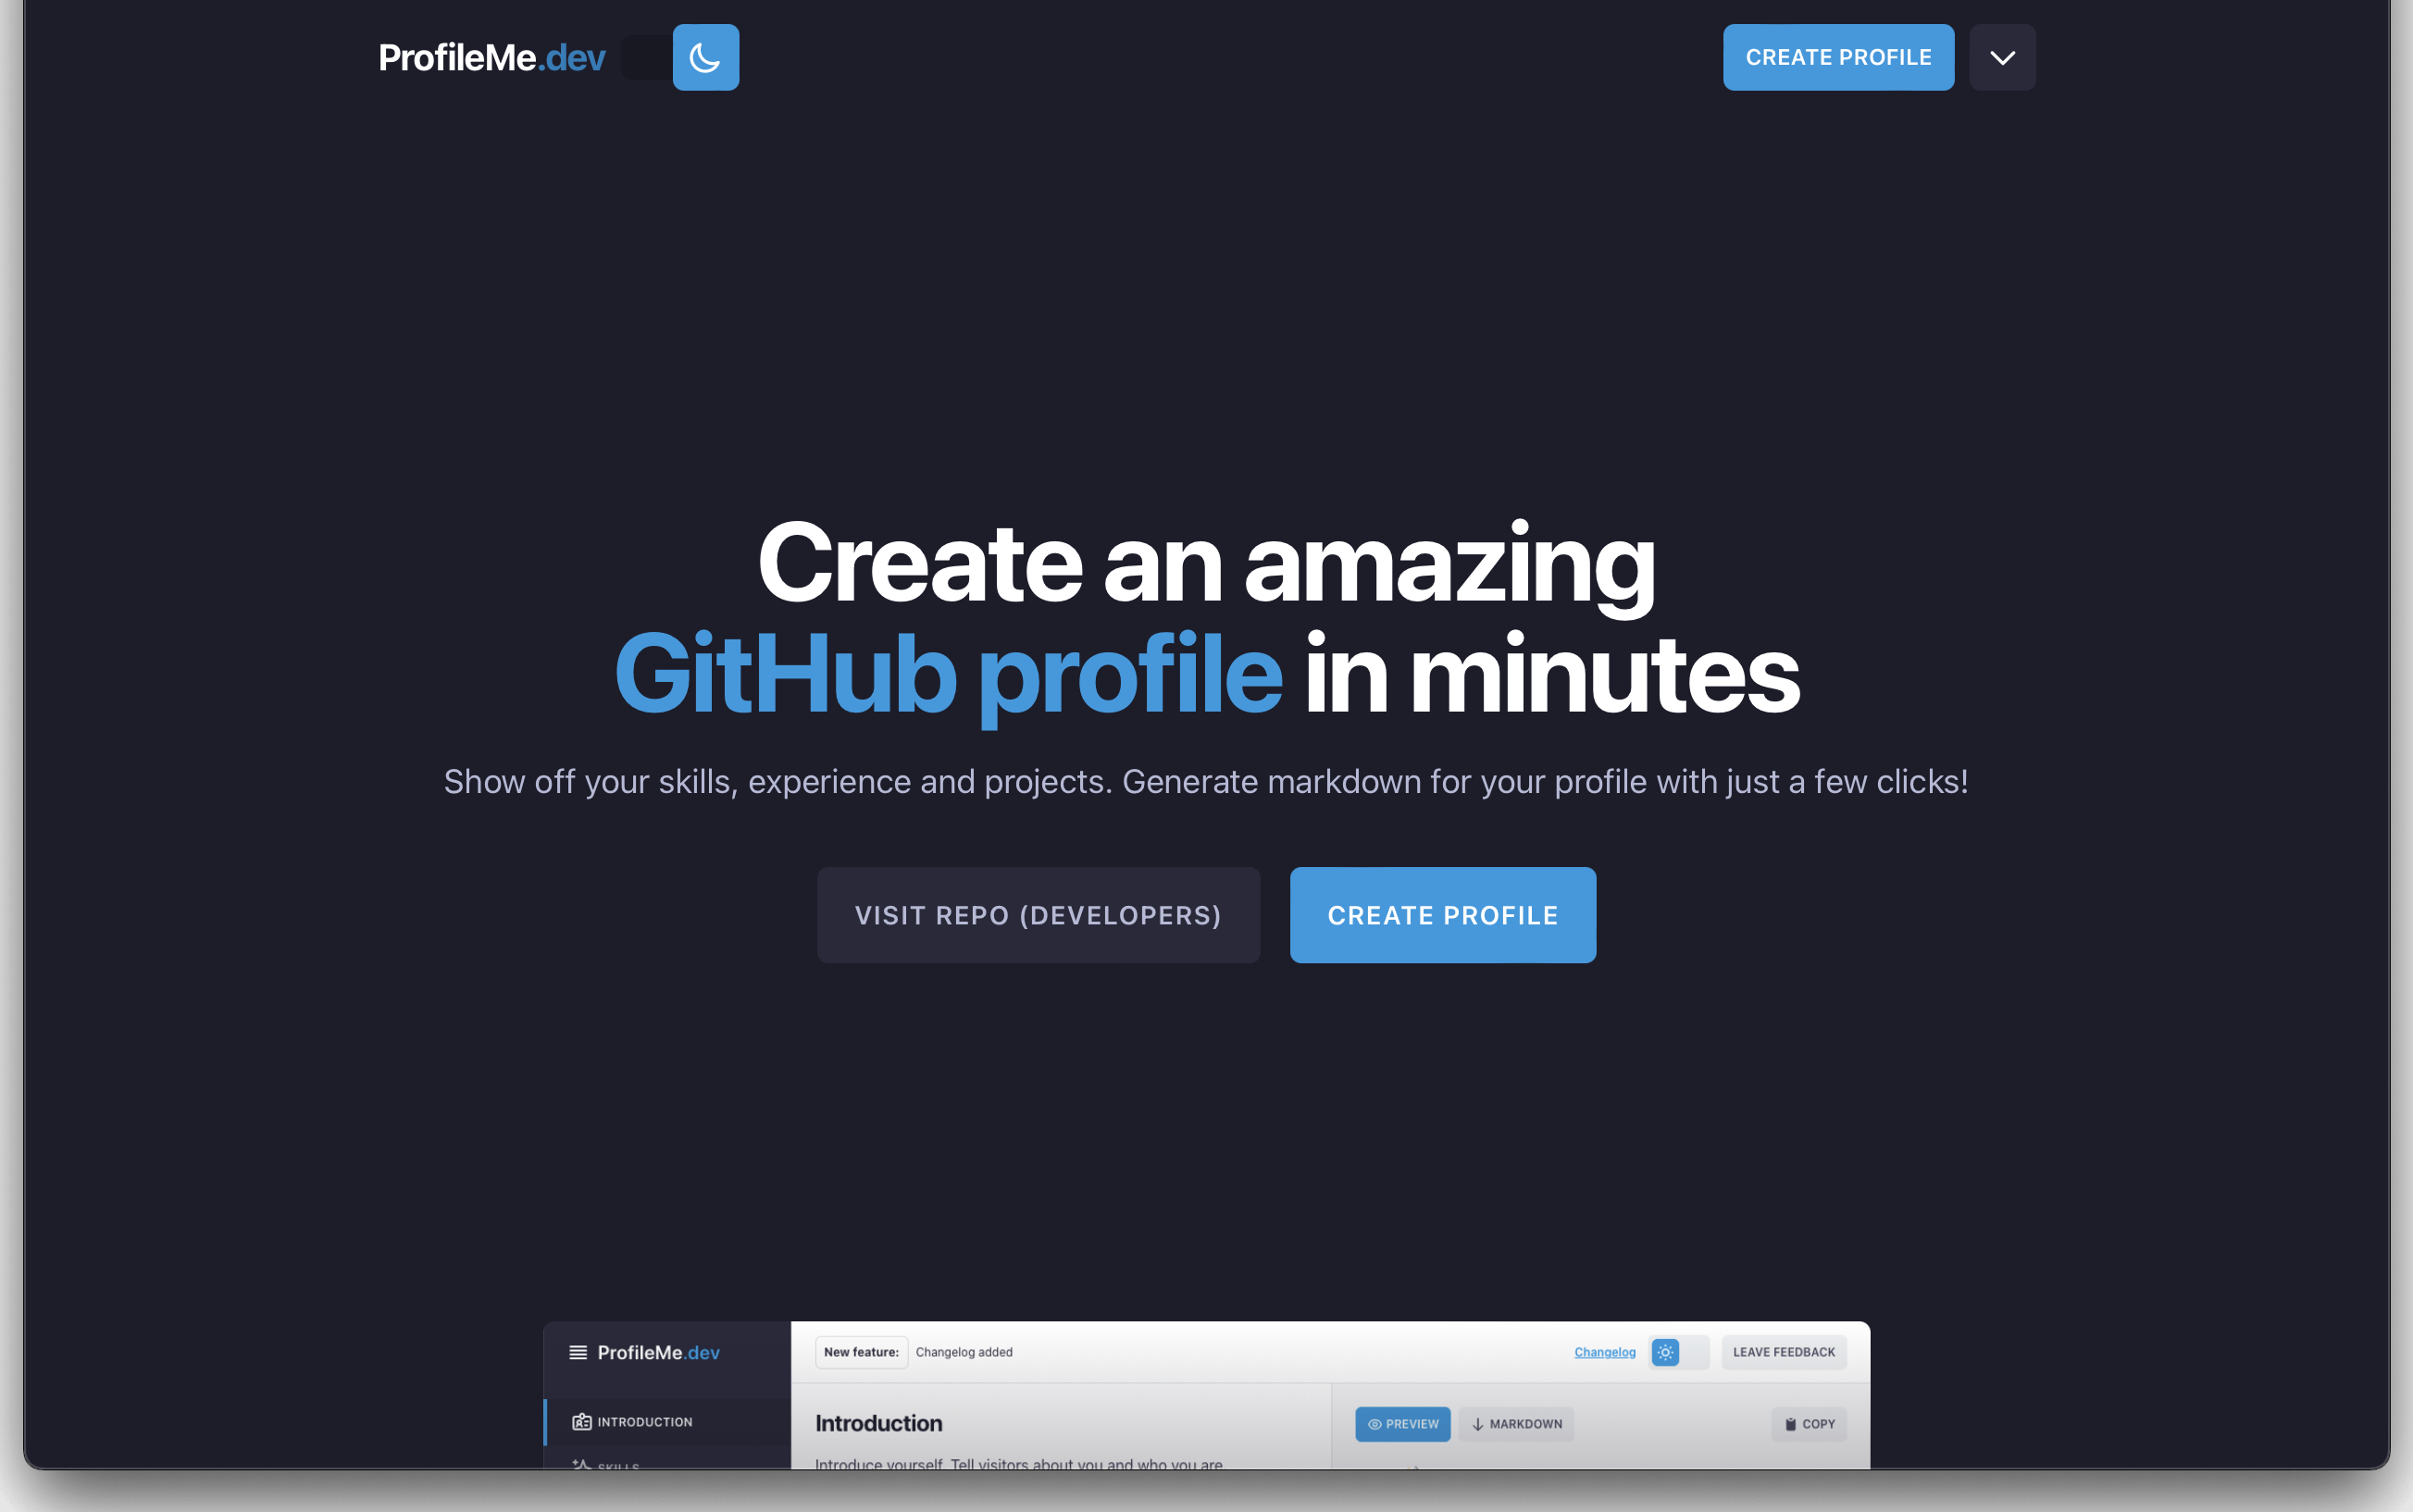
Click on the “create profile” button. It will take you to the first page “introduction page”.
— Introduction Page
This page is where you fill in the necessary information about yourself for your GitHub profile visitors.

Click on the next section once you’re done.
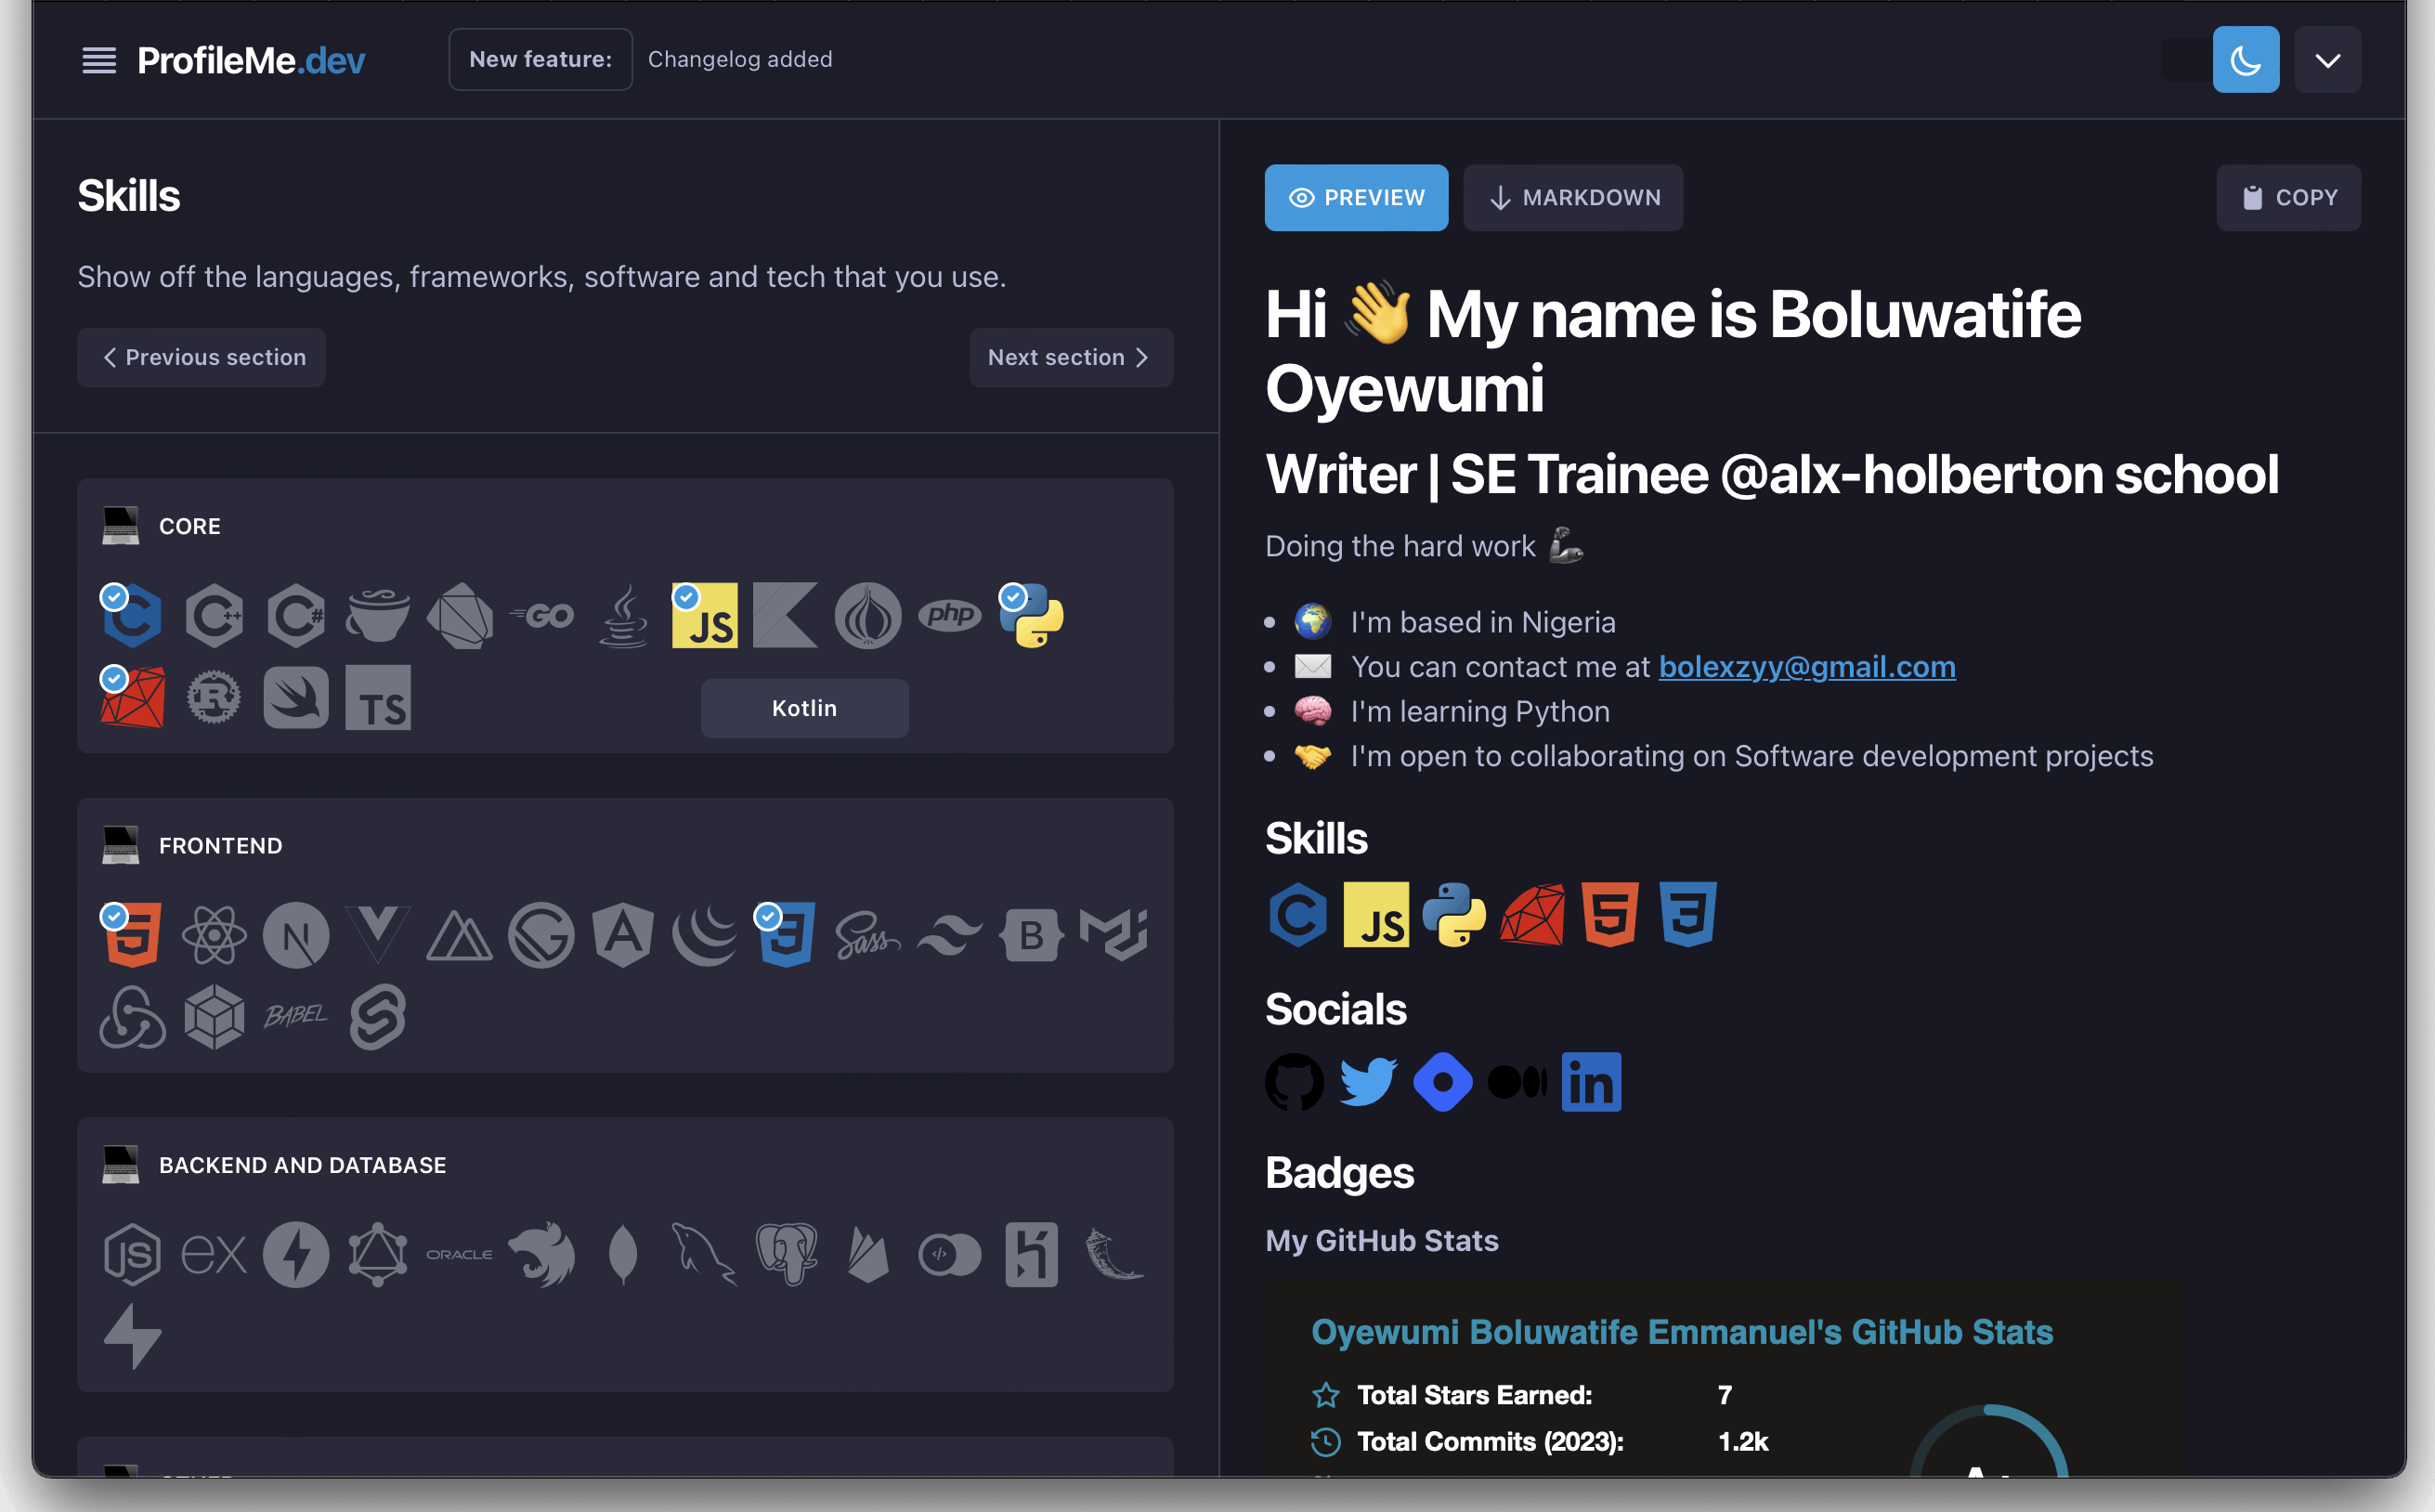
— Show off your skills
The Skills page is the perfect place to showcase the different languages, frameworks, and technologies that you are proficient in. It is a great way to demonstrate your expertise to potential employers and clients. Select by clicking on them as shown in the image below:
Click the next section again when done.
— Share your socials
Social media pages are an effective way to grow your online presence and establish yourself as a reliable source of information. This page includes an input box for your various social media pages links such as Github, Twitter, Linkedin, Hash node, Medium, Dribble, Youtube, and so on.

Click on the next section button to go to the next page.
— Add some stats
The Badges page is a great way to showcase your achievements and accomplishments. On this page, you can include badges from your Github profile, Twitter followers count, and any other stats that you find relevant.
By adding some stats to the Badges page, you are giving potential clients or employers an easy way to check out your credentials without having to dig too deep into your portfolio or profile.

Note: Each section uses the previous link on your social page to get a markdown for your commit streaks, top repositories, and other stats to display them in a beautiful format on your Github profile.
Move to the next section
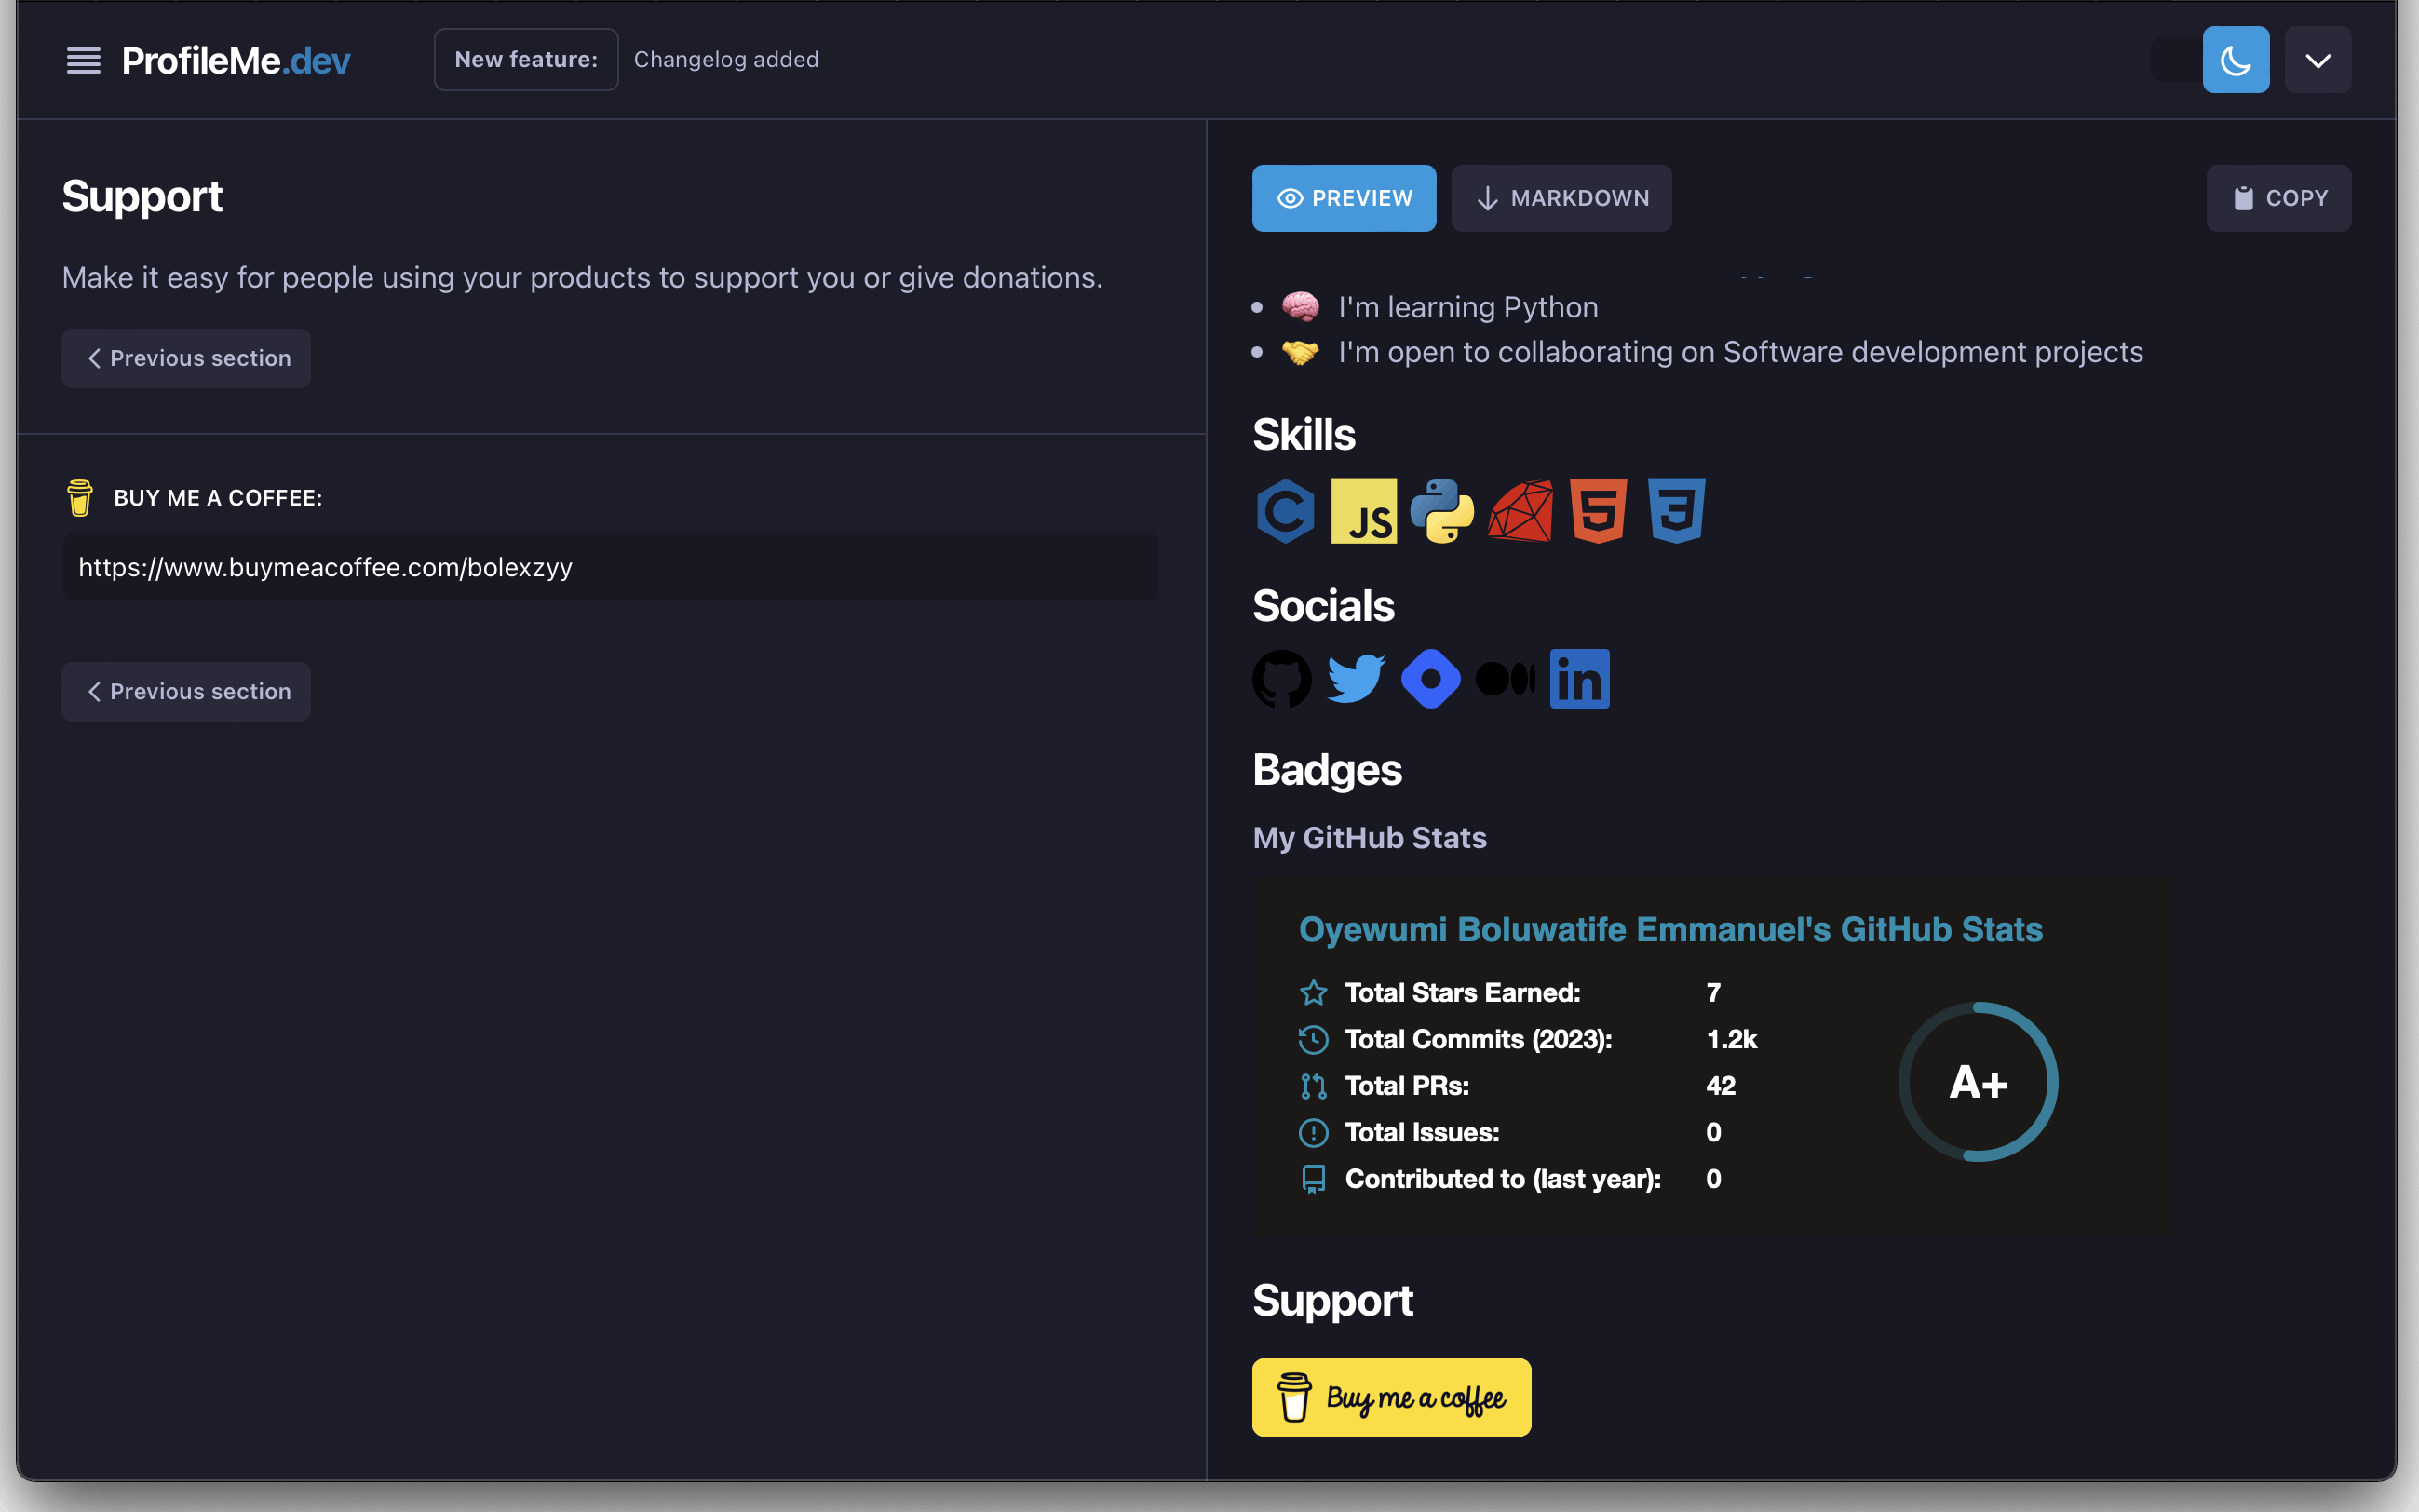
— Buy me a coffee ☕️
As a developer, designer, or data scientist, you have worked hard and have spent countless hours researching for productivity. With the Support Page, you can easily input your Buy me a Coffee link. This will allow your supporters to show their appreciation and encourage you to keep going in your work.
If you don’t have one, you can check it up online, read about it and create an account if you need one. It is not mandatory.
Copy your snippet
If you noticed, for every section you've filled, some HTML-styled text shows up on the right of your screen. This is the markdown language code, you can click the preview tab to easily check a preview of the content you've been doing so far before actually pasting it on GitHub. This makes it easier for you to make sure that the content looks exactly as you intended it to.
Now click the copy button on the top right corner of your screen(for desktop/laptop users). If you’re on a mobile device, the “copy” button will be located at the bottom of your screen. After clicking the copy button, a “Success” message will pop up, just like the one displayed in the image below:
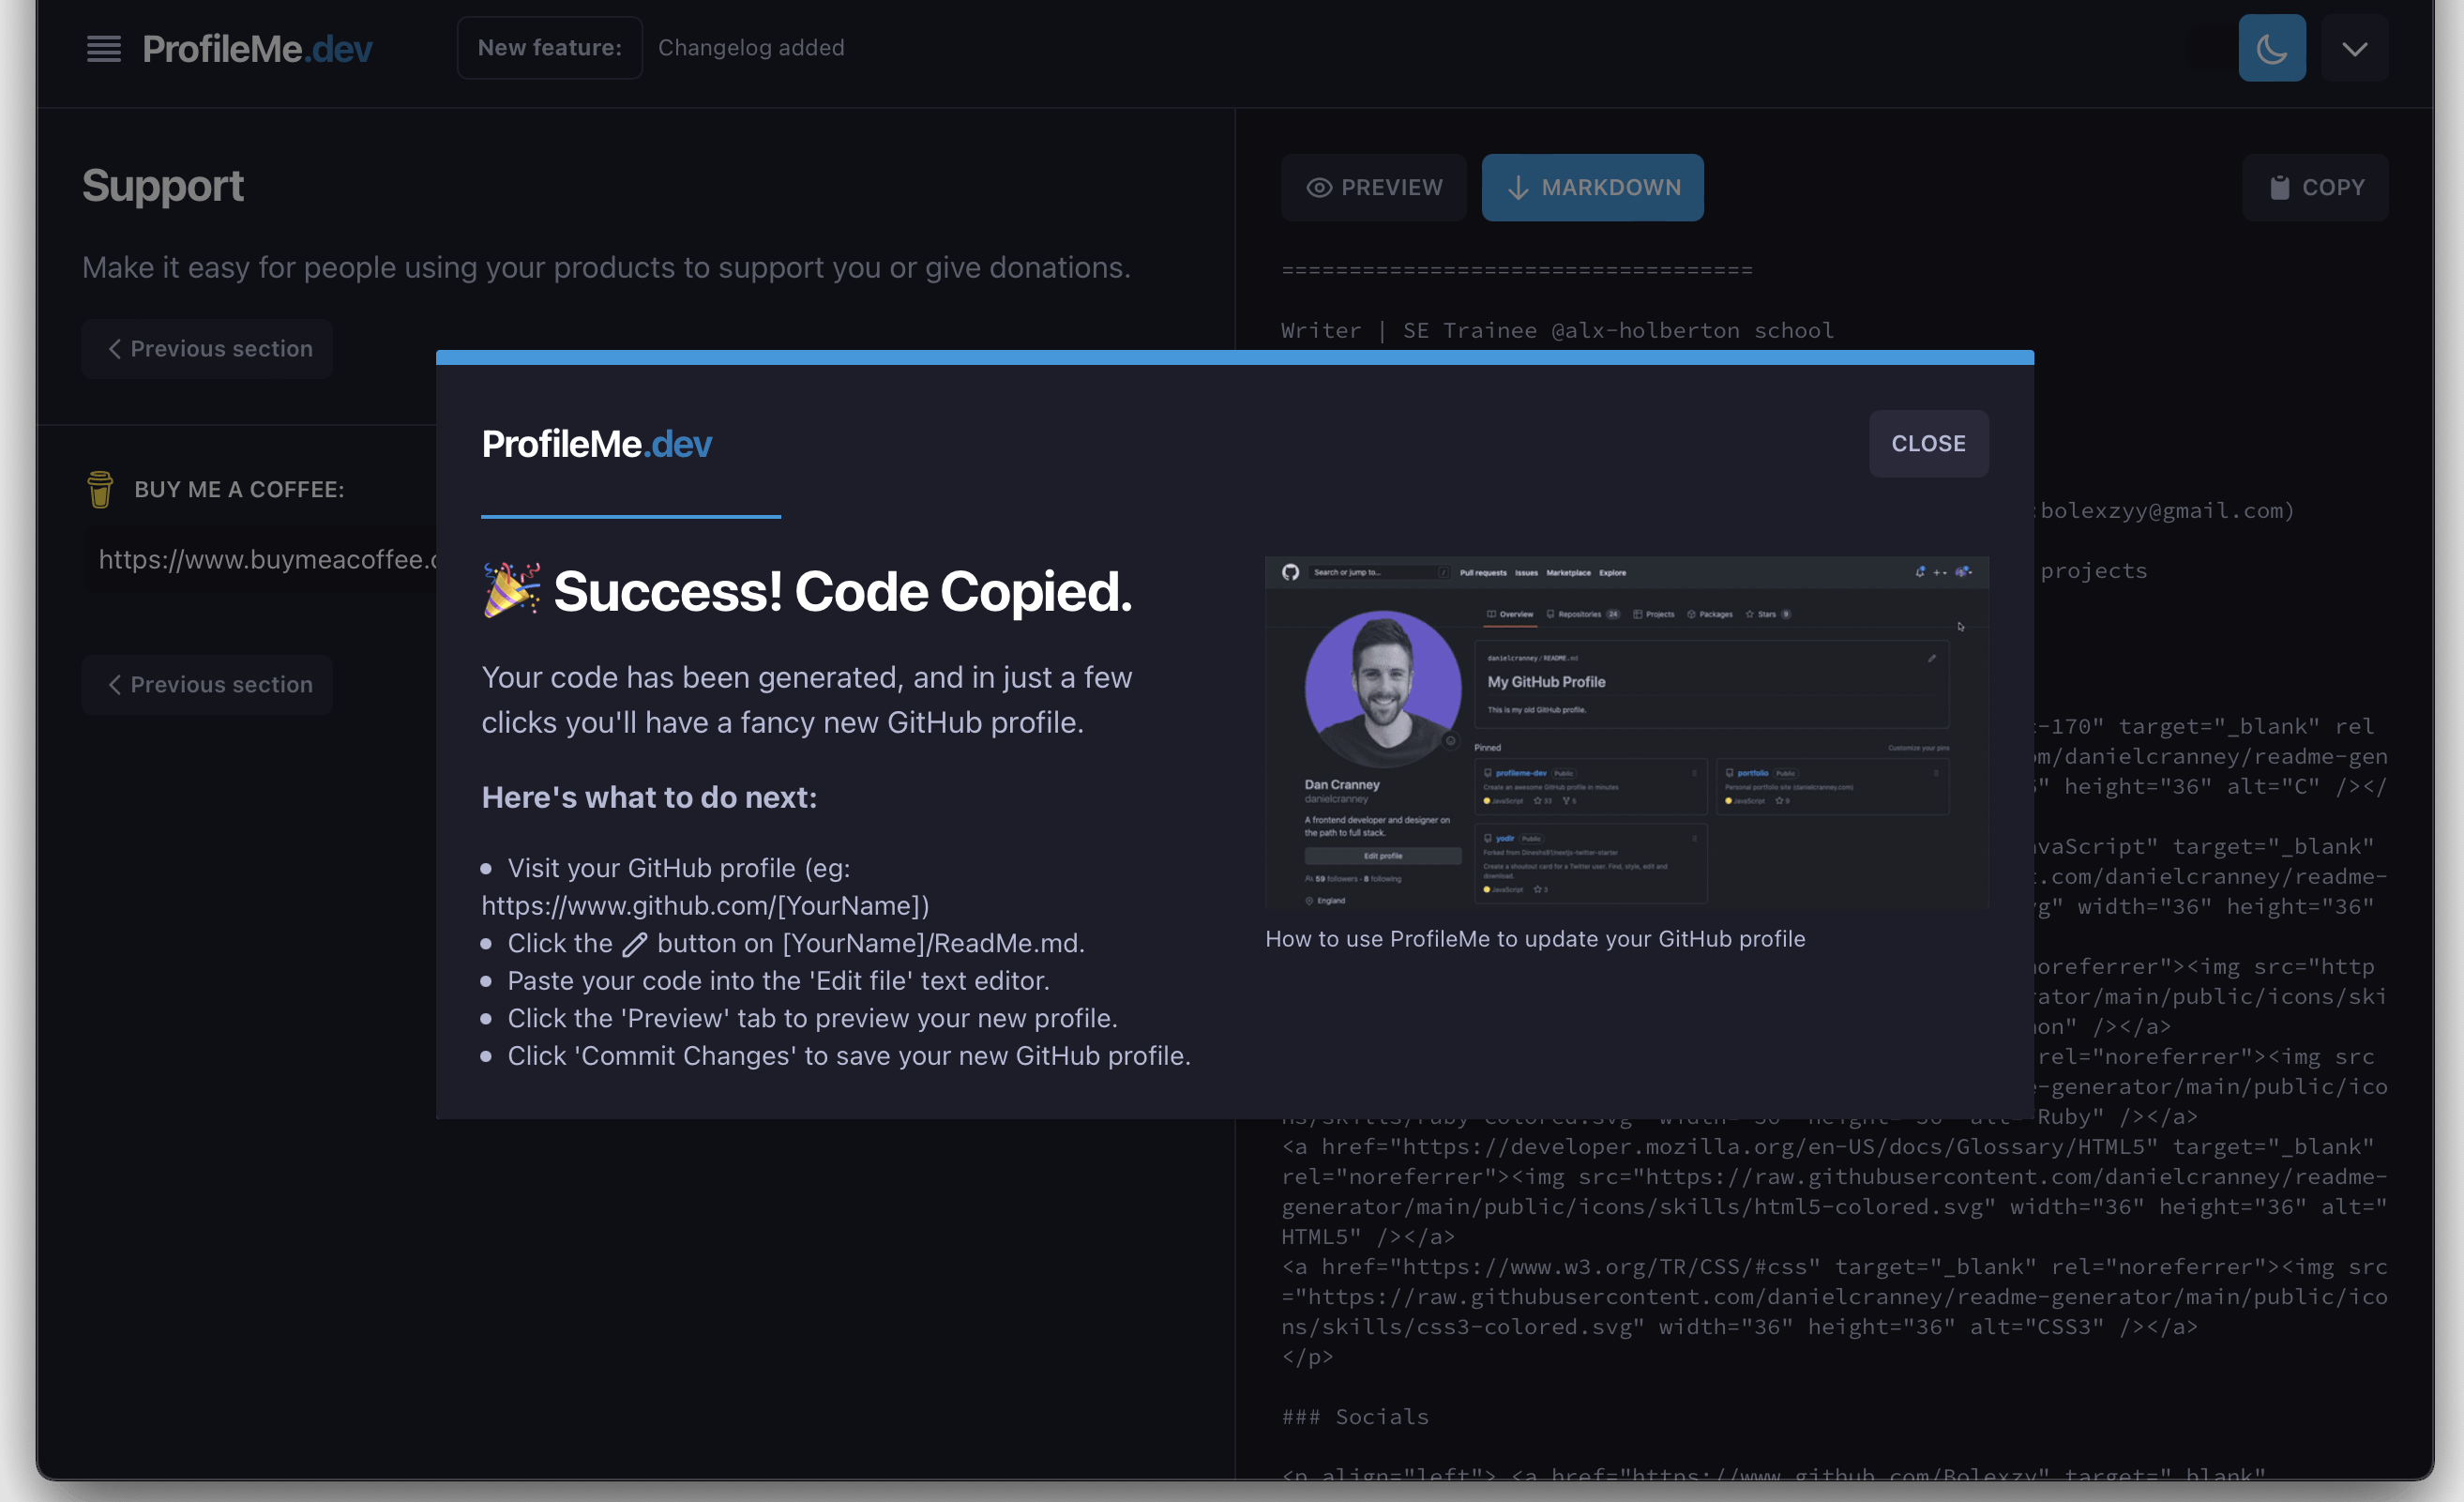
One more step to finish creating your amazing Github profile.
Create a special README
The next step is to go to your GitHub page and then to the repositories tab. After that, click on the green button saying “New” so you create a new repository. Alternatively, use this link to create a new repository.
For the new repository, you need to use the same name as your GitHub username. For instance, my GitHub username is Bolexzy, so the repository name is the same - Bolexzy. When it comes to the description, add something that describes the repository. Also, make sure the repository is public and not private.
Lastly, click on the checkbox saying Add a README file to initialize your project with an empty README file. This is where we’ll be putting our generated markdown.
After that, click on the green button saying “Create repository”.
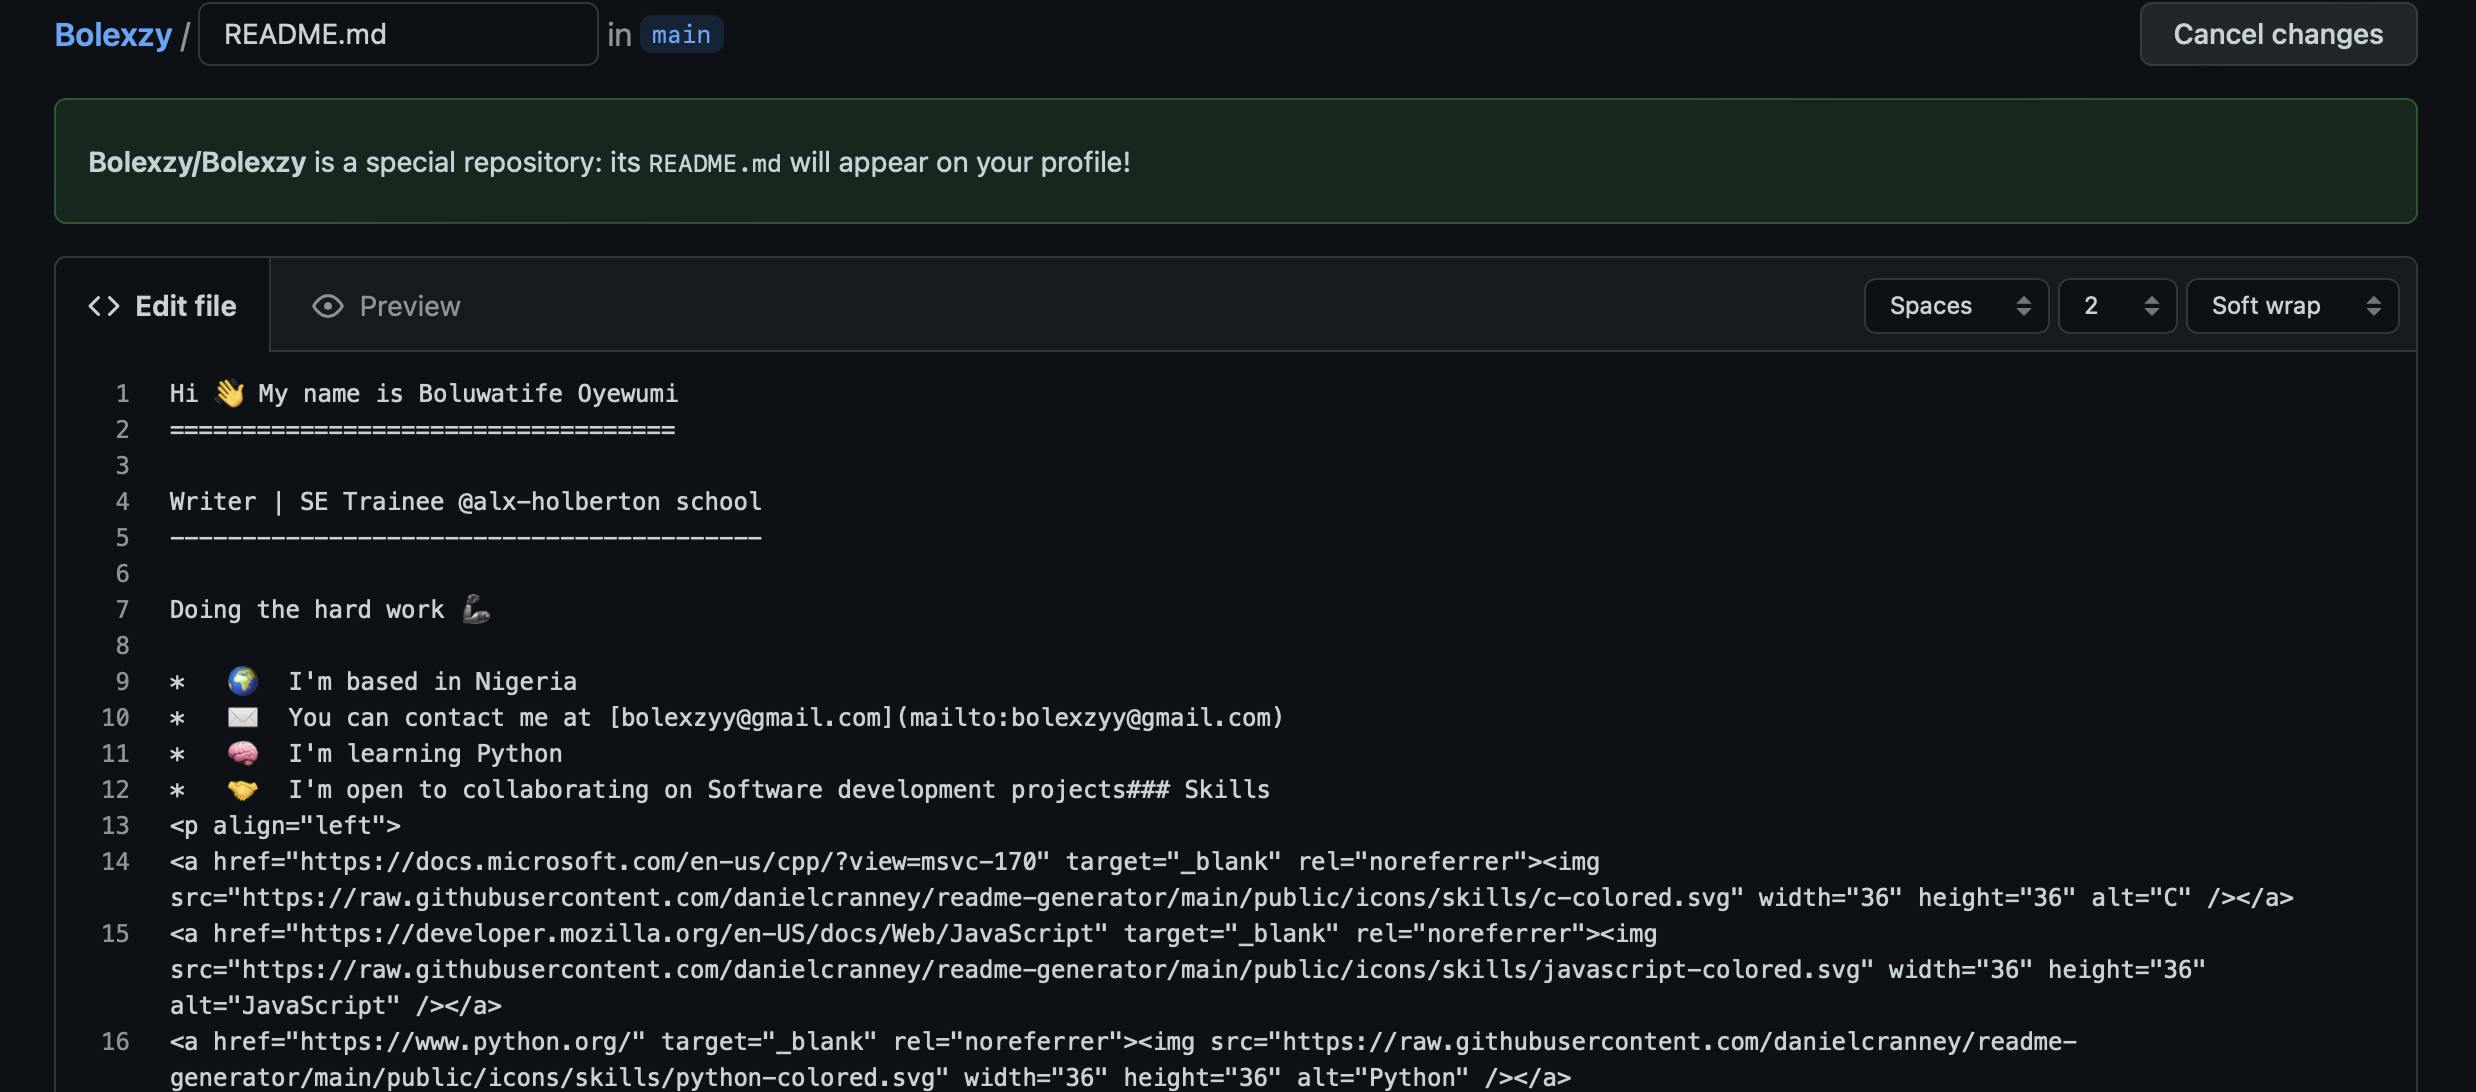
Now your profile readme is ready for editing. Open up your Readme repository, and click the pencil icon in the right-hand corner. It will open up the Edit file page.
In the “Edit file” page, paste the markdown codes you copied from “profileme.dev” in there.
Scroll down to the bottom and click the “Commit changes”. To view it fully, go to the overview tab of your GitHub profile and see the changes.
Hurray, you did it🎉. Well done for creating an amazing GitHub profile.
That’s all for today, I’ll see you again in another article!
To read more such interesting articles, subscribe to my blog | https://bolexzy.hashnode.dev/. You can also reach me on LinkedIn.